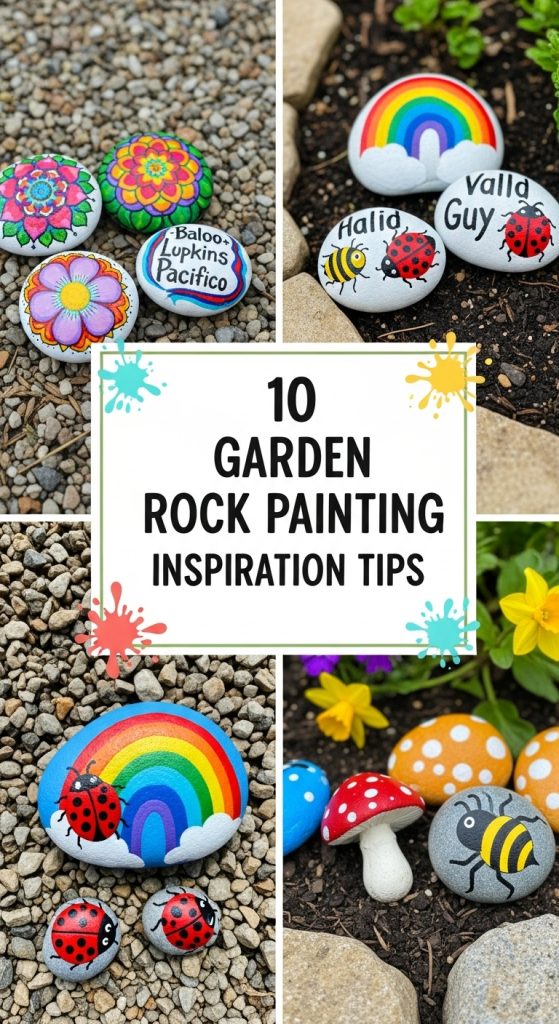
Painting garden rocks is a fun and affordable way to add colour, charm, and personality to any outdoor space. Whether you’re decorating a flower bed, lining a garden path, or creating playful accents, these inspiration tips will help spark your creativity and guide you toward making beautiful rock art.
1. Pick the Right Rocks
Start by choosing smooth, flat rocks, as they’re easier to paint on and show designs clearly. River rocks, beach pebbles, or stones with rounded edges make perfect canvases. Before painting, wash and dry your rocks thoroughly to remove dirt and dust.
2. Find Inspiration in Nature
Look around your garden or local park for ideas: leaves, flowers, insects, or small animals can inspire adorable and meaningful designs. Painting what you see in nature helps your art blend beautifully into the landscape.
3. Use Bright, Contrasting Colors
Vibrant colors like turquoise, sunny yellow, coral, and deep purple stand out against the natural greens and browns of your garden. Don’t be afraid to mix and match bold shades for an eye-catching effect.
4. Try Mandalas and Dot Art
Mandalas and dot painting add intricate, decorative patterns that look beautiful on garden stones. Using the tip of a brush handle or a dotting tool makes it easier to create clean, even dots.
5. Add Words of Encouragement
Simple words like “Grow,” “Hope,” “Bloom,” or short quotes bring an uplifting message to anyone who sees your garden art. Choose fonts or letter styles that reflect your garden’s mood — playful, rustic, or elegant.
6. Experiment with Seasonal Themes
Create rocks that celebrate the seasons: snowflakes and holly for winter, flowers and butterflies for spring, sun and sea motifs for summer, and pumpkins or leaves for autumn. Switching them out keeps your garden decor fresh all year.
7. Personalize with Names and Dates
Paint family initials, pet names, or special dates like anniversaries or birthdays on rocks. These small details make your garden feel uniquely yours and add a personal story to your outdoor space.
8. Play with Shapes and Sizes
Don’t limit yourself to small pebbles. Larger rocks can become focal points with big designs or layered patterns. Mix large and small painted stones together for an interesting, textured look.
9. Protect Your Art
Always finish your painted rocks with a clear, waterproof outdoor sealant. This helps preserve the colors and keeps your designs looking bright despite sun, rain, and soil contact.
10. Create Decorative Displays
Arrange your painted rocks creatively: line them along walkways, cluster them around flower pots, or build small rock towers. Grouping rocks by color, theme, or size makes your designs feel like part of the garden rather than scattered decorations.


